|


This
tutorial was created by Daphne
using PSP X9 - April 2017
it
is my own creation and should it
resemble any other creation it
would be purely coincidental.
Do
not use or place it on any
website without my written
permission.
Copyright
© 2017 ~Daphne ~ All rights
reserved.
*****************************
You
will need the following to
complete this tutorial.
*********
MATERIALS
http://www.mediafire.com/file/6cx37442f3n2cwe/lesson_no.6_materials.rar
LADY
WITH FAN (RJWNKOK) .PSPIMAGE
DIVIDER.PSPIMAGE
FLOWERS.JPG
FLOWERS
MISTED.PSPIMAGE
GLOSSY-SPACE-ICON-CULTURE-CHINESE
..PSPIMAGE
SPARKLE
TUBE.PSPIMAGE
Save
to a folder on your computer
******
PLUGINS
BKG
DESIGNER SF1011 -FAN BLADES
http://www.lundentreux.info/infographie/filtres/Aentree.htm
*******
STEP
1
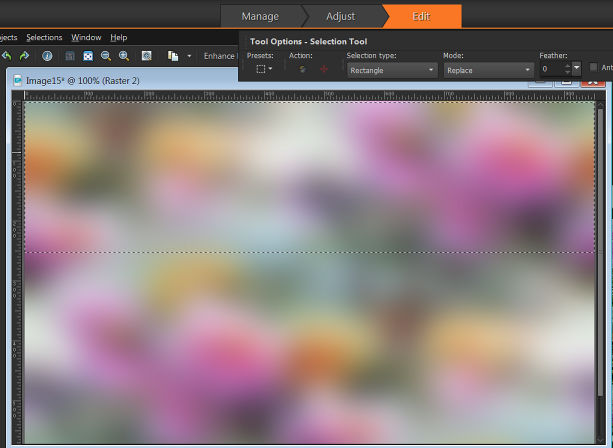
Open
a new image 950
X 650
Transparent
background
PSPX-X9
Colour Depth= 8 bits/channel
SELECTIONS
>>>>SELECT ALL
Open
up the FLOWERS
JPG
in your PSP workspace
Right
click on the Title bar and
select COPY from the options
Right
click on the Title Bar of your
working image
and
select PASTE INTO SELECTION
from the options
SELECTIONS
>>>SELECT NONE
********
STEP
2
Effects
>>>Image
effects>>> Seamless
tile
at
the default settings
click
ok
Adjust
>>> blur >>>
gaussian blur 25
CLICK OK
Layers>>>
new raster layer
View
rulers
Use
the rectangle selection tool and
select the top of your image
down
to the 250 mark
Open
up the FLOWERS
JPG
in your PSP workspace
Right
click on the Title bar and
select COPY from the options
Right
click on the Title Bar of your
working image
and
select PASTE INTO
SELECTION from the options
SELECTIONS
>>>SELECT NONE
STEP
3
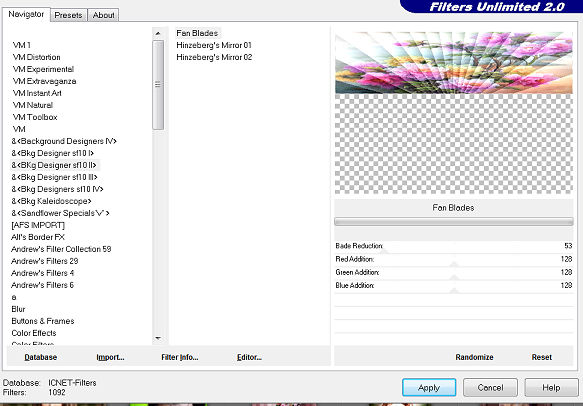
Plugin
>>> Filters Unlimited
>>>
Bkg
Designer sf1011 >>> Fan
blades
53
128 128 128
Using
your rectangle selection
tool, select the top
section of your working image
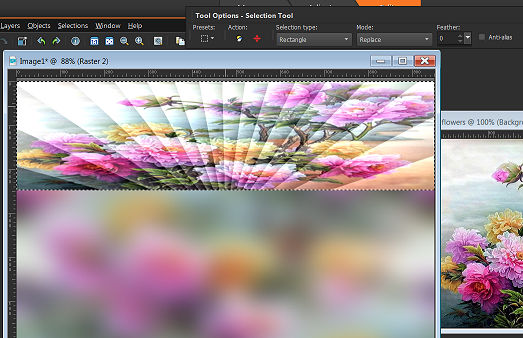
Layer>>>New
raster layer
Flood
fill with ba58a8
Selections
>>>modify >>>
contract = 3
Edit
>>> clear
selections
None
STEP
4
Open
up the LADY WITH FAN.PSPIMAGE
in your PSP workspace
Right
click on the Title bar and
select COPY from the options
Right
click on the Title Bar of your
working image
and
select PASTE AS NEW LAYER
from the options
IMAGE
>>>RESIZE>>> =75%
Ensure
"Resize all layers" is
UNCHECKED
Resample
using WEIGHTED AVERAGE
ADJUST
>>>SHARPNESS>>>SHARPEN
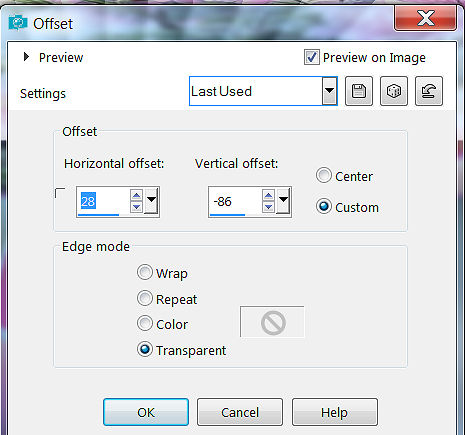
Effects>>>Image
Effects >>> offset
28
-86
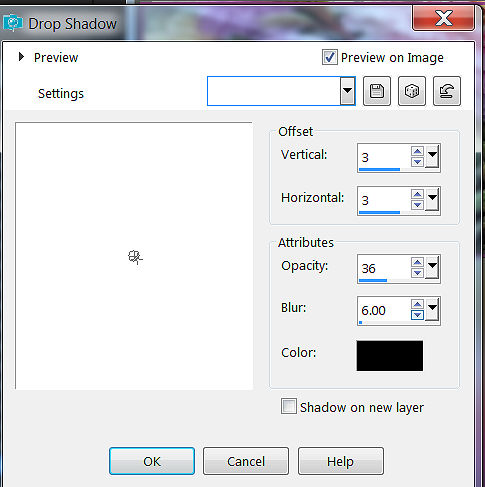
Effects
>>>3d effects
>>> Drop shadow
STEP
5
Open
up the FLOWERS MISTED.PSPIMAGE
in your PSP workspace
Right
click on the Title bar and
select COPY from the options
Right
click on the Title Bar of your
working image
and
select PASTE AS NEW LAYER
from the options
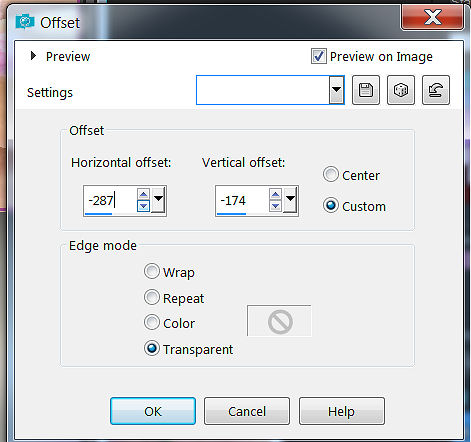
Effects
>>>Image effects
>>> offset
-287
-174
Layers
Duplicate
Image
>>>Mirror or
Mirror horizontal.
STEP
6
Layers
>>> new raster layer
Open
up the
GLOSSY-SPACE-ICON-CULTURE-CHINESE
LOVE.PSPIMAGE in your PSP
workspace
Right
click on the Title bar and
select COPY from the options
Right
click on the Title Bar of your
working image
and
select PASTE AS NEW LAYER
from the options
IMAGE
>>>RESIZE>>> =30%
Ensure
"Resize all layers" is
UNCHECKED
Resample
using WEIGHTED AVERAGE
ADJUST
>>>SHARPNESS>>>SHARPEN
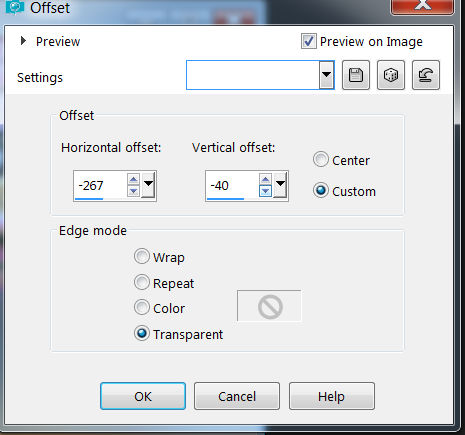
Effects
image effects offset
-267
-40
Layers
Duplicate
Image>>>
Mirror or Mirror
horizontal
STEP
7
Image
>>> Add borders >>>Size
8 >>Symmetric
checked >>>
Colour
#944684
Click
OK
With
your MAGIC WAND
Mode
= Replace
Match
Mode =RGB Value
Tolerance
=0
Feather=0
Antialias
=Unchecked
Sample
Merged= Unchecked
PSP
-X2 : Check CONTIGUOUS
PSPX-X9
There is no "Sample
Merged"
PSPX-X9:
Use all layers =UNchecked
Select
the border with the magic wand
and selections >>> invert
effects
>>> 3 d effects
>>>repeat drop shadow
3
3 36 6.00
selections
invert
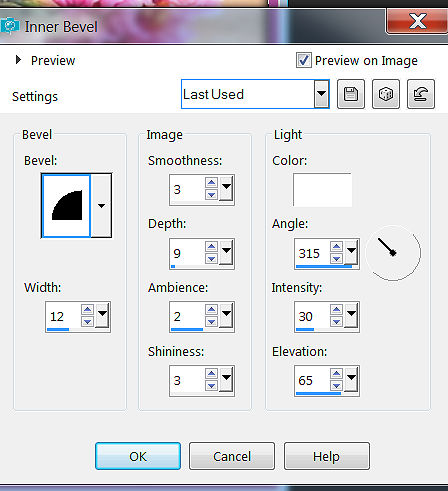
Effects
>>>3d effects
>>> inner
bevel
selections
none
STEP
8
Effects
>>> Plugins >>> AAA frames
>>> photo frame
and
use the default settings.

Layers
>>> new raster layer
Open
up the DIVIDER.PSPIMAGE in your
PSP workspace
Right
click on the Title bar and
select COPY from the options
Right
click on the Title Bar of your
working image
and
select PASTE AS NEW LAYER
from the options
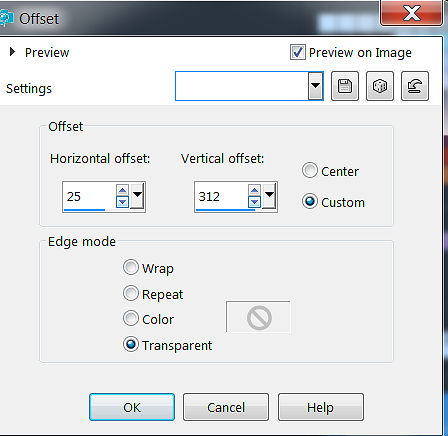
Effects
>>>image effects
>>>offset
25
312
Layers
duplicate
Image
Flip >>> or >>>Mirror
vertical
Layers
>>> Merge
>>>Merge down
STEP
9
Open
up the DIVIDER.PSPIMAGE in your
PSP workspace ONCE AGAIN
Right
click on the Title bar and
select COPY from the options
Right
click on the Title Bar of your
working image
and
select PASTE AS NEW LAYER
from the options
Image
free rotate Left 90 degree>>>
All
Layers and Rotate single layer
Unchecked
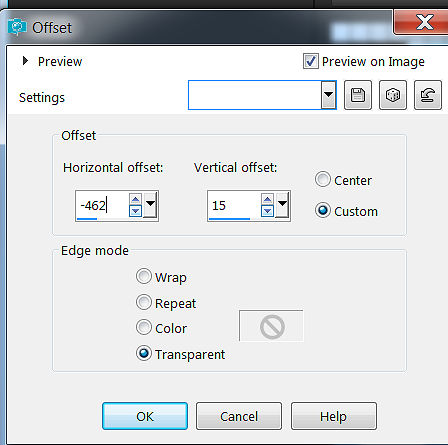
effects>>>
image effects>>> offset
-462
15
layers
duplicate
image>>>
Mirror or Mirror
horizontal
Click OK
STEP
10
layers
>>>merge>>>
down
layers
>>>merge down again
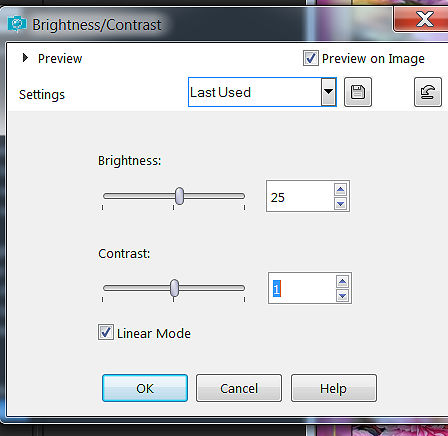
Adjust
Brightness and contrast
25
1
Layers
>>>merge
>>>merge all flatten.
Layers
>>>new raster
layer
Add
your watermark
Layers
>>>merge
>>>merge all flatten
Save
as a JPG File and your finished.
Copyright
© 2017 ~Daphne ~All rights
reserved.
FOLLOW
ON FOR THOSE THAT WANT TO
ANIMATE
STEP
11
Animation
Open
up the SPARKLE
TUBE.PSPIMAGE
in your
PSP workspace
File
>>>export picture tube and rename
it sparkle tube
and
use these settings
Scale
20 Step 77

Shift
D to duplicate your image 3
times
STEP
12
Click
on your first image
Layers>>>new
raster layer
STEP
13
Using
your sparkle tube
set
the size to your liking ( I use
20 ) ,
make
little random sparkles on your
dividers and
the
lady's accessories.
STEP
14
Adjust
>>> sharpness
>>>sharpen
Adjust
>>> brightness / contrast
25
1
STEP
15
Layers
>>>merge
>>>merge visable and
save this as
1diamond
.pspimage
Repeat
steps 12, `13,
14 . 15 on your 4 copies ,
placing your sparkles randomly
on each copy
You
should have 4 psp diamond images
when you are done. Having
renamed each one as
1diamond.pspimage,
2diamond.pspimage,
3diamond.pspimage and
4diamond.pspimage,
STEP
16
Open
up Animation shop
Click
on the Animation Wizard
>>>same
size as the first image frame
-transparent
>>>upper
left corner of the frame / with the canvas
colour
>>>YES,
repeat animation indefinitely
>>>speed 10
How
long do you want each frame to
be displayed >>>10
>>>now
add your 4 diamond images
,
in
the correct numerical order .
Go
to View animation and if you
like what you have ,
File
save as type ( compuserve
graphic gif )
click>>>Next
Click>>>Next
Click>>>Next
Click>>>Finish.
Copyright
© 2017 ~Daphne ~All rights
reserved.
|